
This is a step by step tutorial on how to frame your pastel painting using a ready made chain store frame.If you choose a well made wooden frame you can save big dollars and still have a tastefully framed painting.
Materials list:
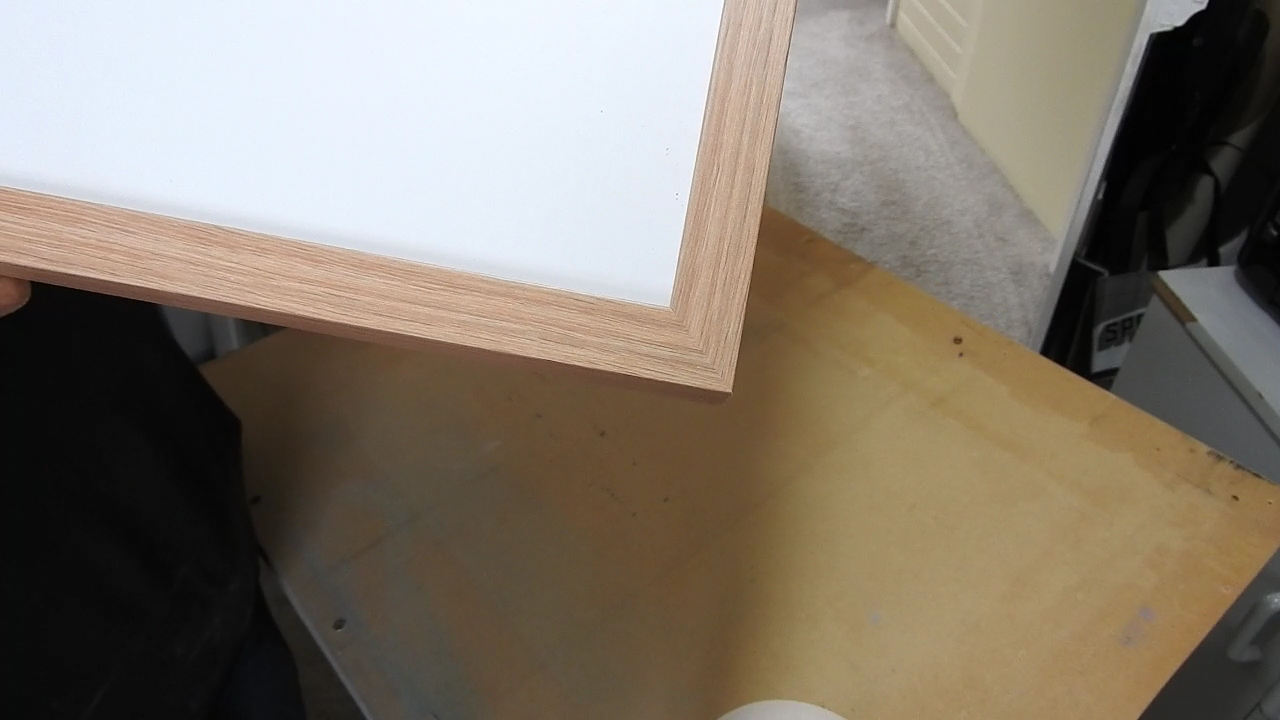
- a ready made frame with a mat ( the opening to be slightly smaller than your painting) Check the corner joints are well formed with no gaps.
- some mat board or foamcore offcuts
- a sharp craft knife
- a pair of scissors
- acid free framing tape ( can be purchased from an art supply store)
- a kitchen table knife
- a lint free cloth
- 2 small screws
- 2 D rings
- hanging wire the width of your frame plus 10 cms.
- a screwdriver
You can buy picture hanging kits from the dollar store which include the screws, rings and wire.


Step 1 – Remove the backing board using the kitchen knife to prise up the metal tacks flat against the frame.Take out the paper and mat. Make sure you place the mat on a clean surface!I like to use the paper insert from the frame as it’s just the right size.


Step 2– Check the frame for any damage. Especially check that the corner joints are smooth with no gaps. Check the glass to make sure there are no scratches.
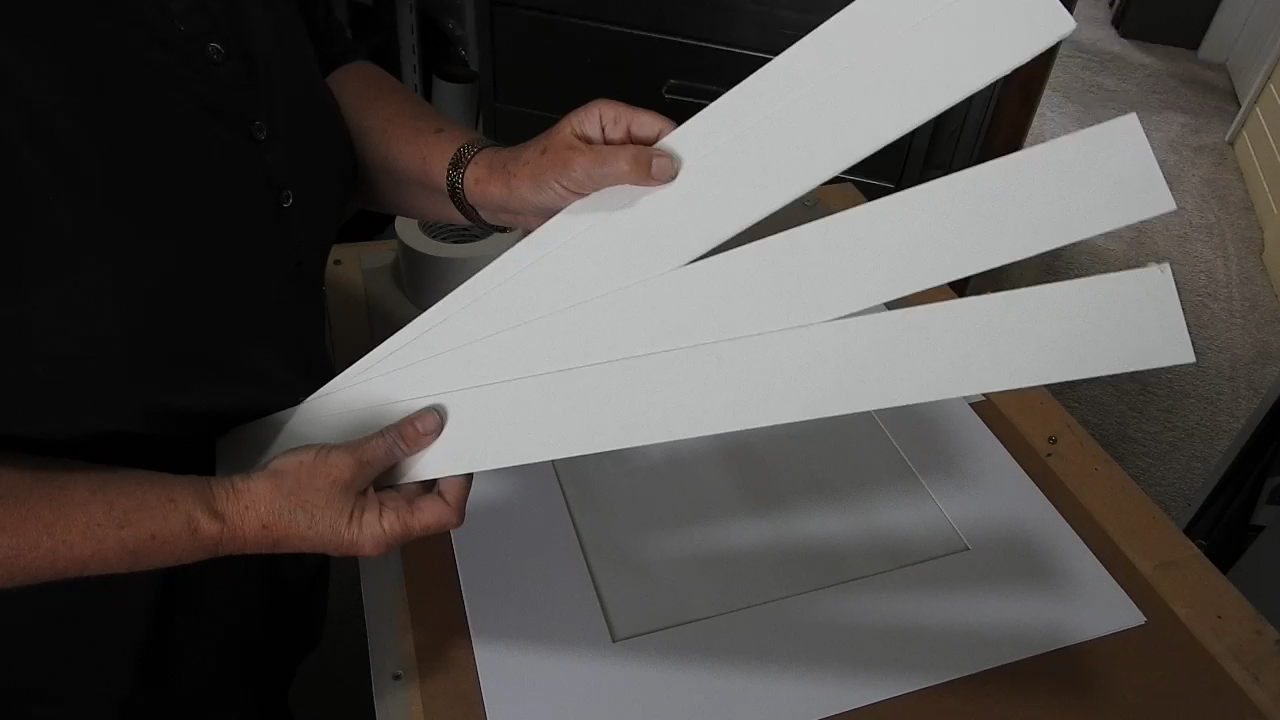
Step 3 – Make a spacer frame. Cut four strips from your scrap board long enough and wide enough to make a frame that will sit approx 2cm in from the mat opening and 2cm in from the mat edge. You will make the scrap “frame”on the side of the mat that will be facing the painting.The spacer frame will allow any falling pastel dust to fall behind the mat keeping the front of the mat and the glass clean.

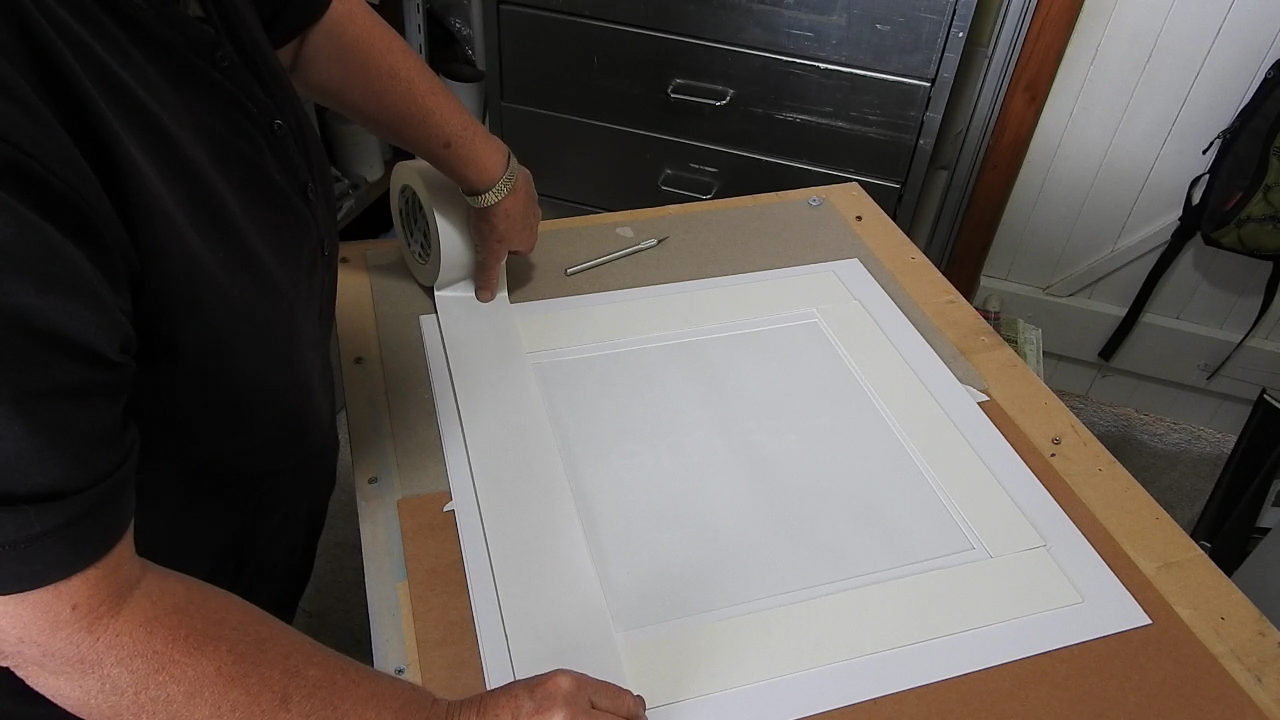
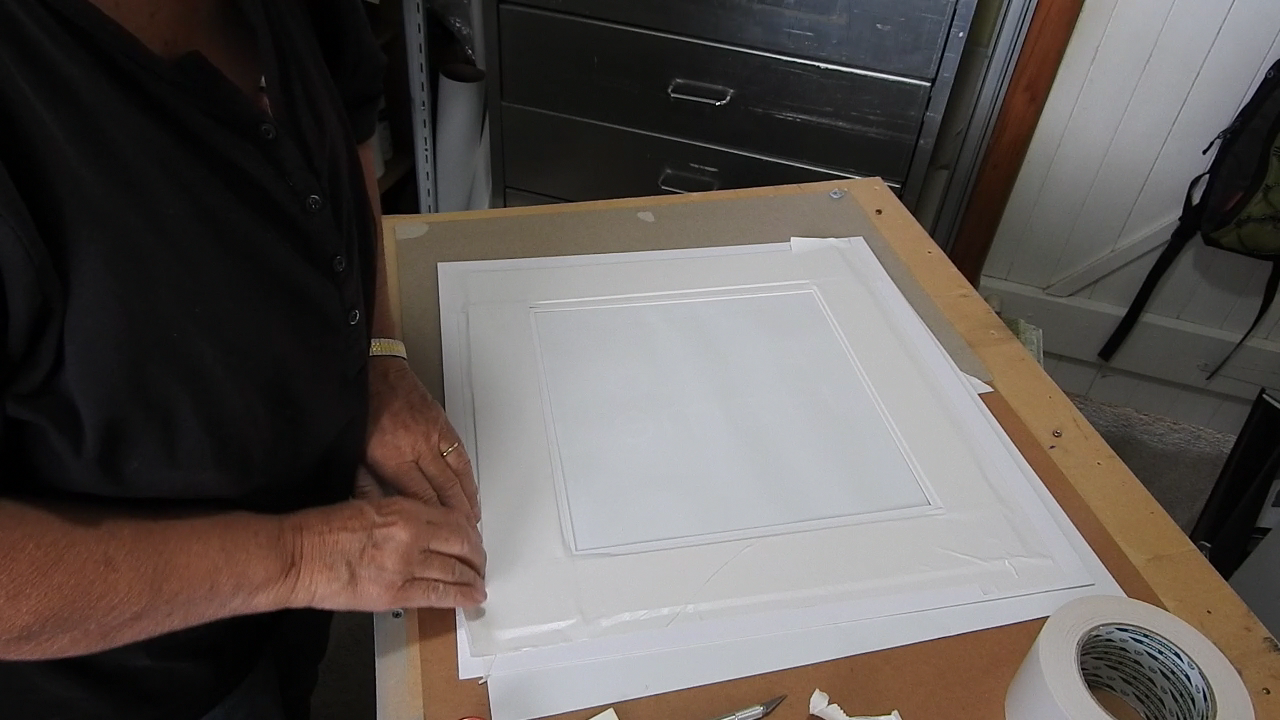
Step 4– Attach the spacer frame with the framing tape making sure the tape doesn’t show in the mat opening. You don’t need to tape over all the strips – just enough to hold them securely in position. You could also use double sided tape for this .
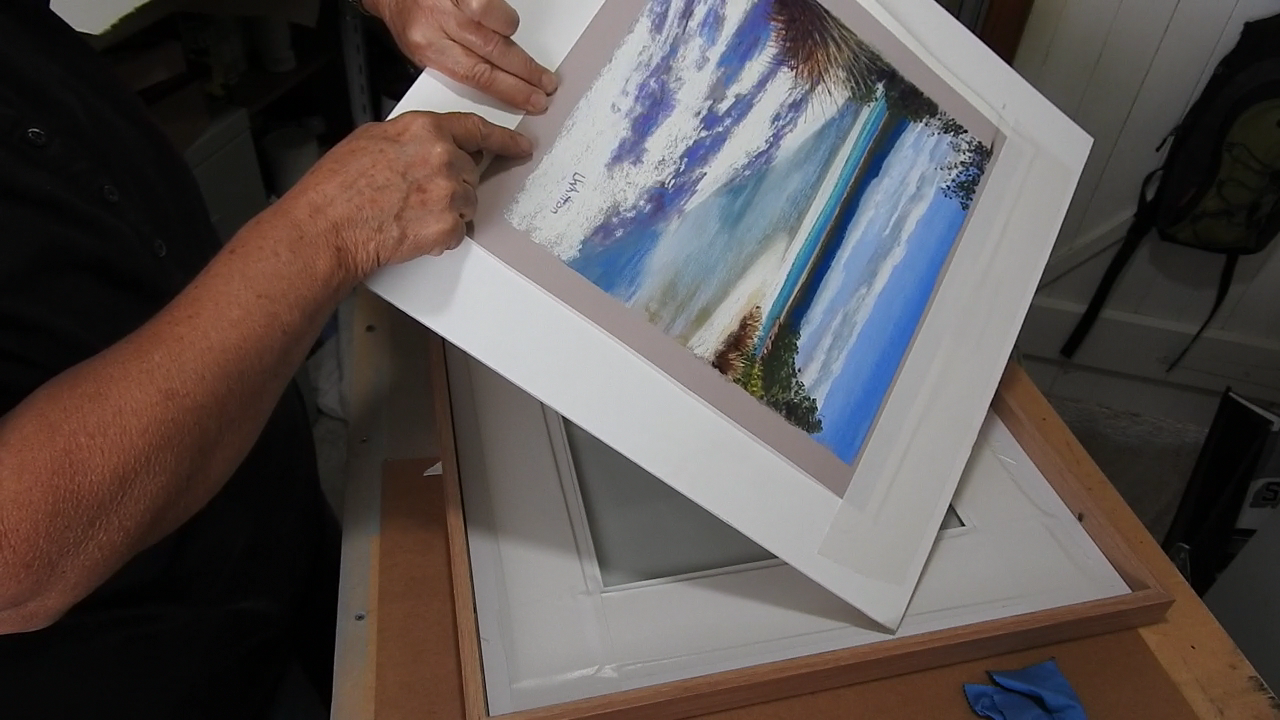
Step 5- Centering your painting on the backing board. Take the pastel painting and sit it on the middle of your backing board. Here I’m using a piece of foamcore cut to the same size as the MDF backing board I removed from the frame. You cam use the MDF board but if you do it’s a good idea to seal it first with a coat of varnish or gesso to prevent any acid in the MDF from causing discoloration of your painting in years to come.
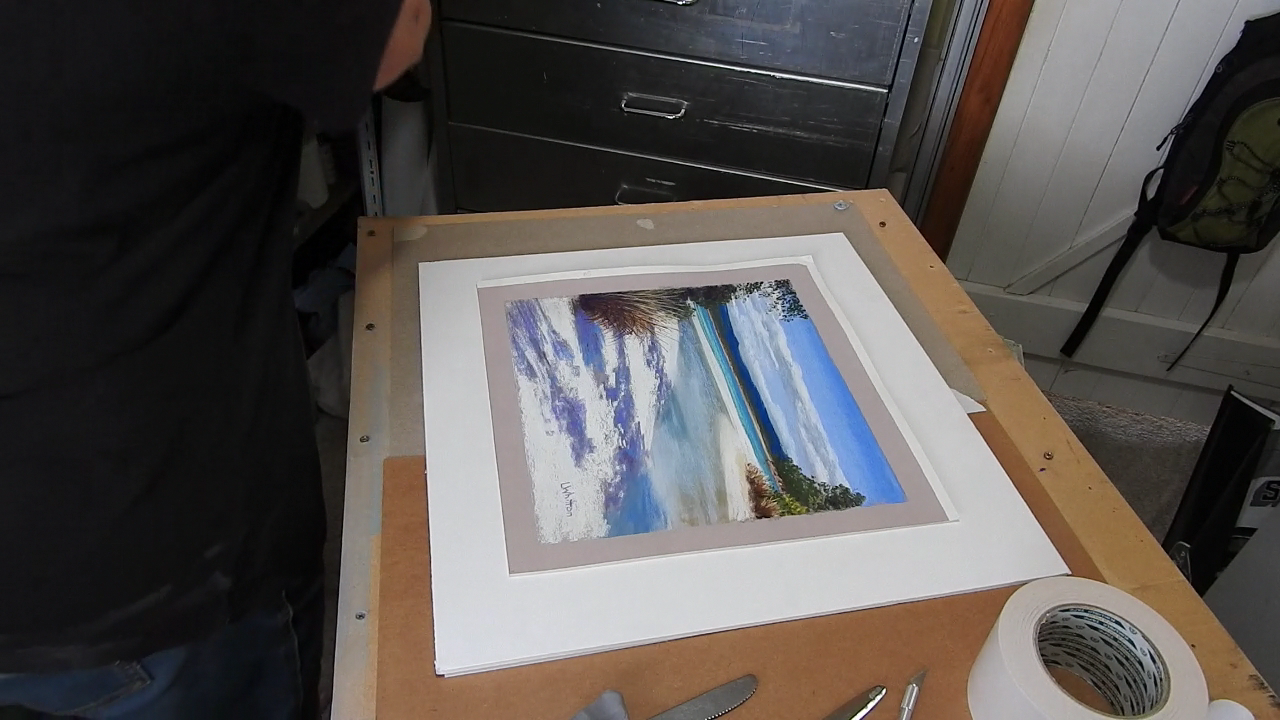
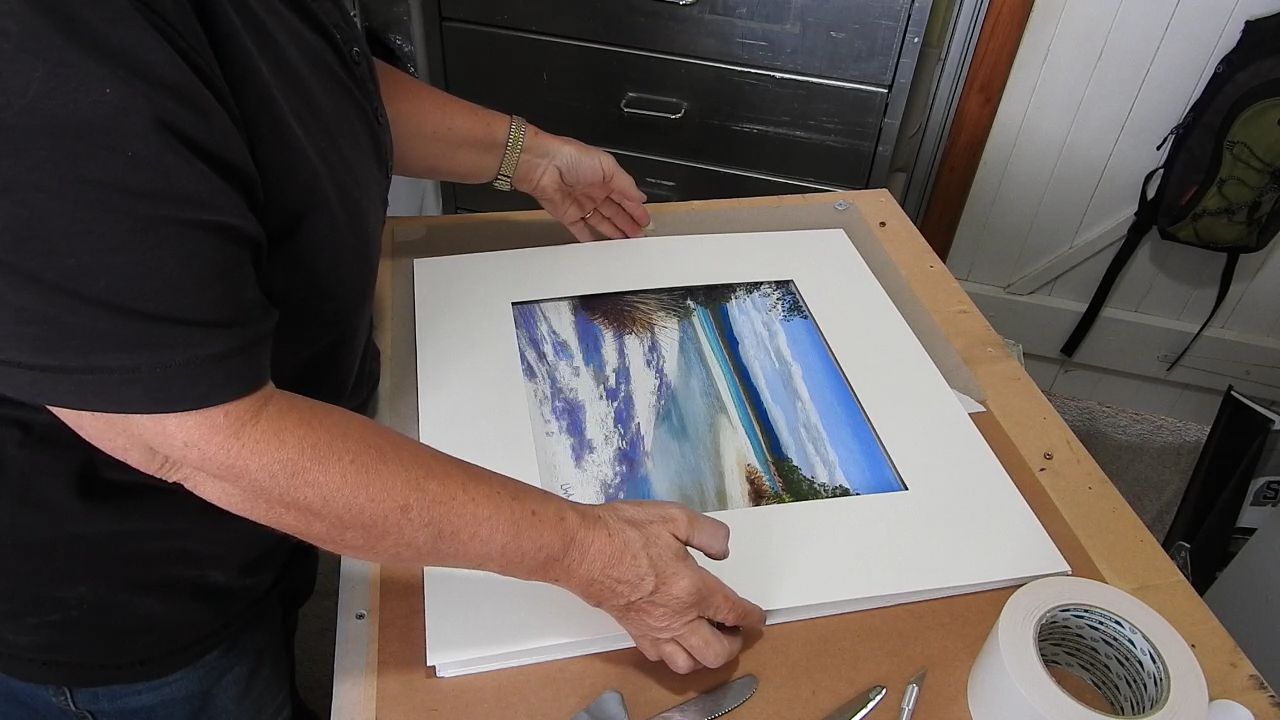
Now place the mat over the painting to make sure only the painting is showing in the mat opening
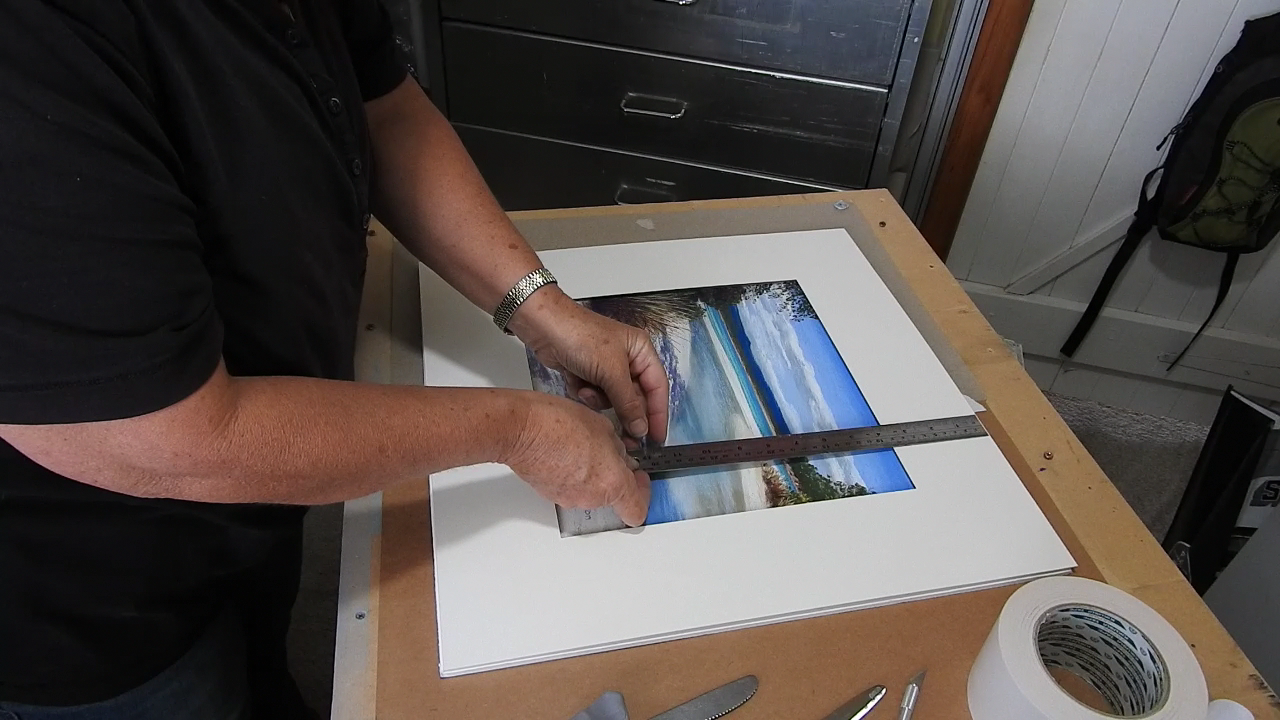
Take a ruler and measure from the top of the mat to the horizon line on both sides to check you have the horizon level.
Once you’re satisfied with the painting placement remove the mat and tape the top of the painting to the backing board with a small piece of the framing tape. This stops it moving when you place the long strip of tape on.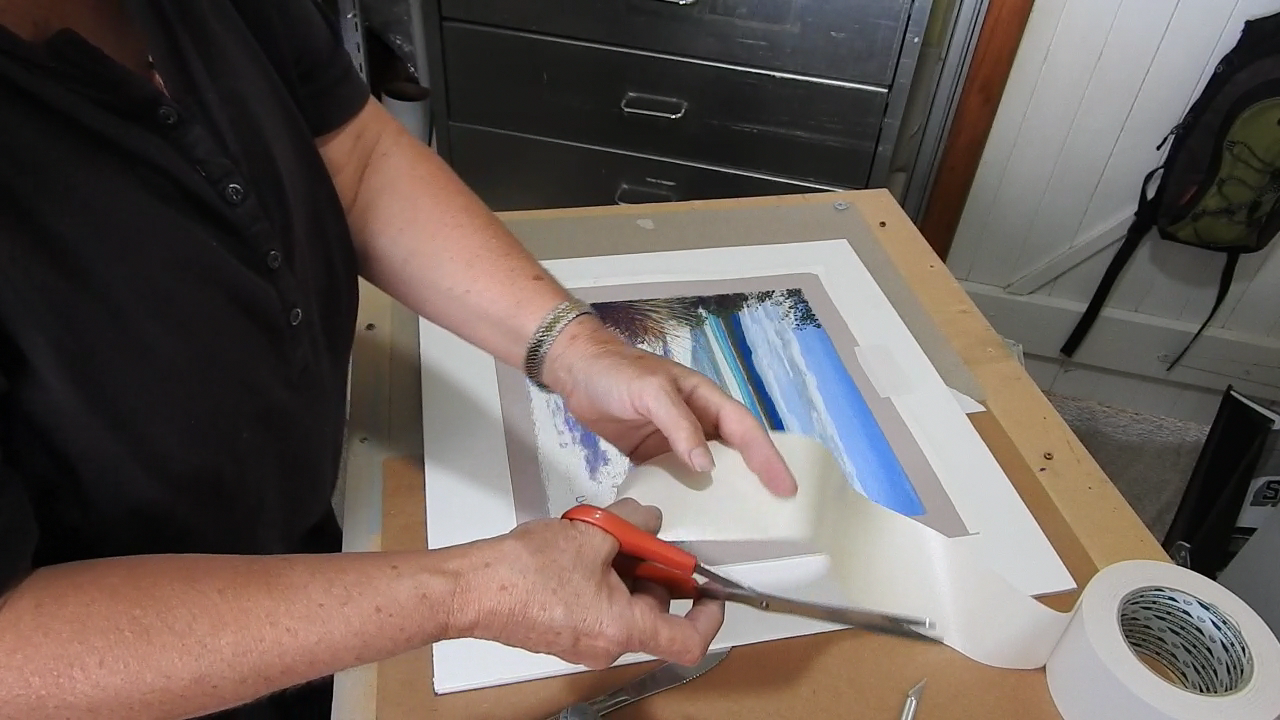
Now cut a piece of tape long enough to cover the full length of the painting at the top and attach to the backing board.
Step 6– Placing the painting in the frame. This is the fiddly bit. As you’re doing this stage you need to constantly be checking for any stray pastel dust on the mat and the glass before you go onto the next step. This is very important!
Clean the glass with a lint free cloth ( I use glass cleaning cloth)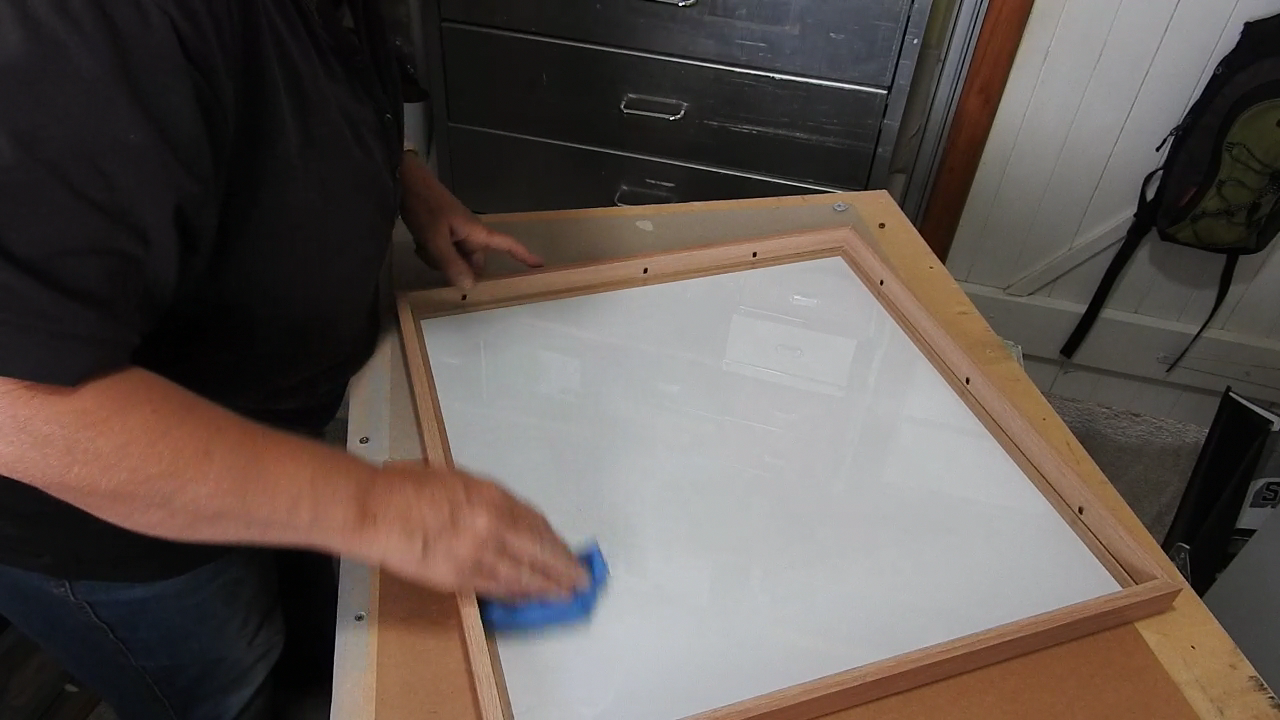
Lay the mat on the glass making sure the spacer side away from the glass and the metal tacks are all showing. You can use the knife edge to lever the mat in gently to get it to slip below the tacks.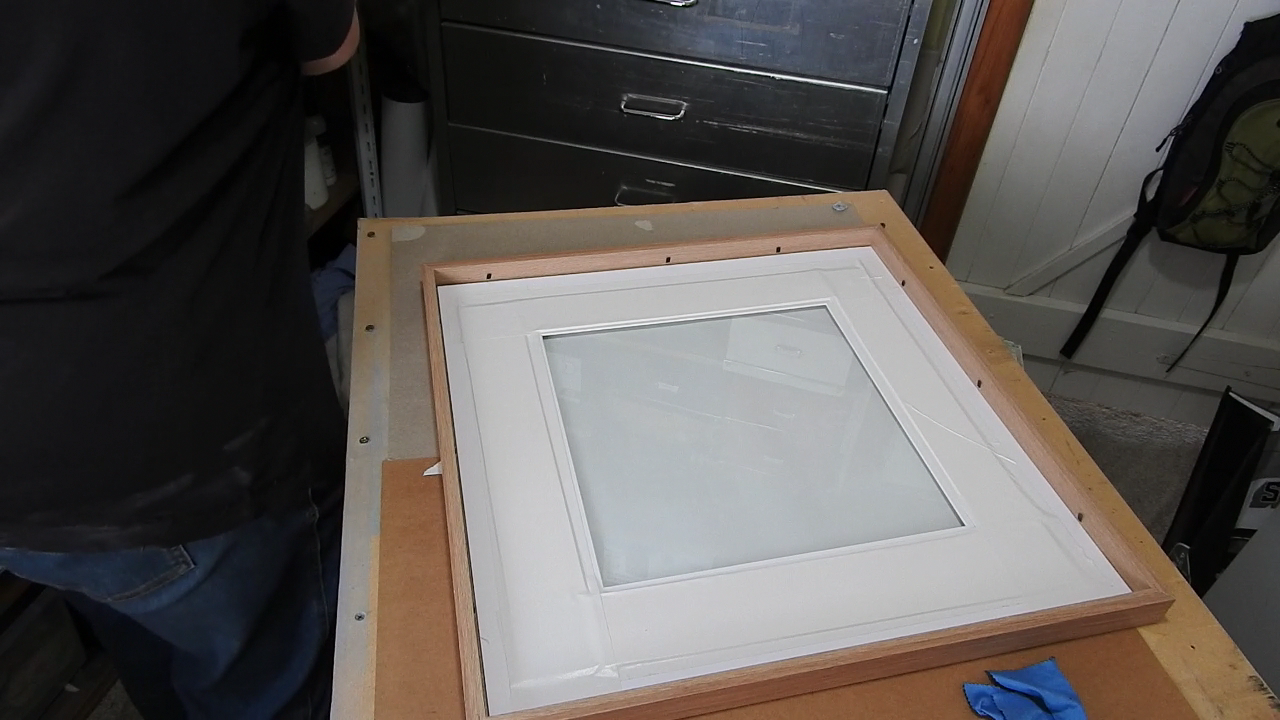
Holding the painting on the backing board carefully place it face down on the mat
You might need to use the knife again to ease it past the tacks.

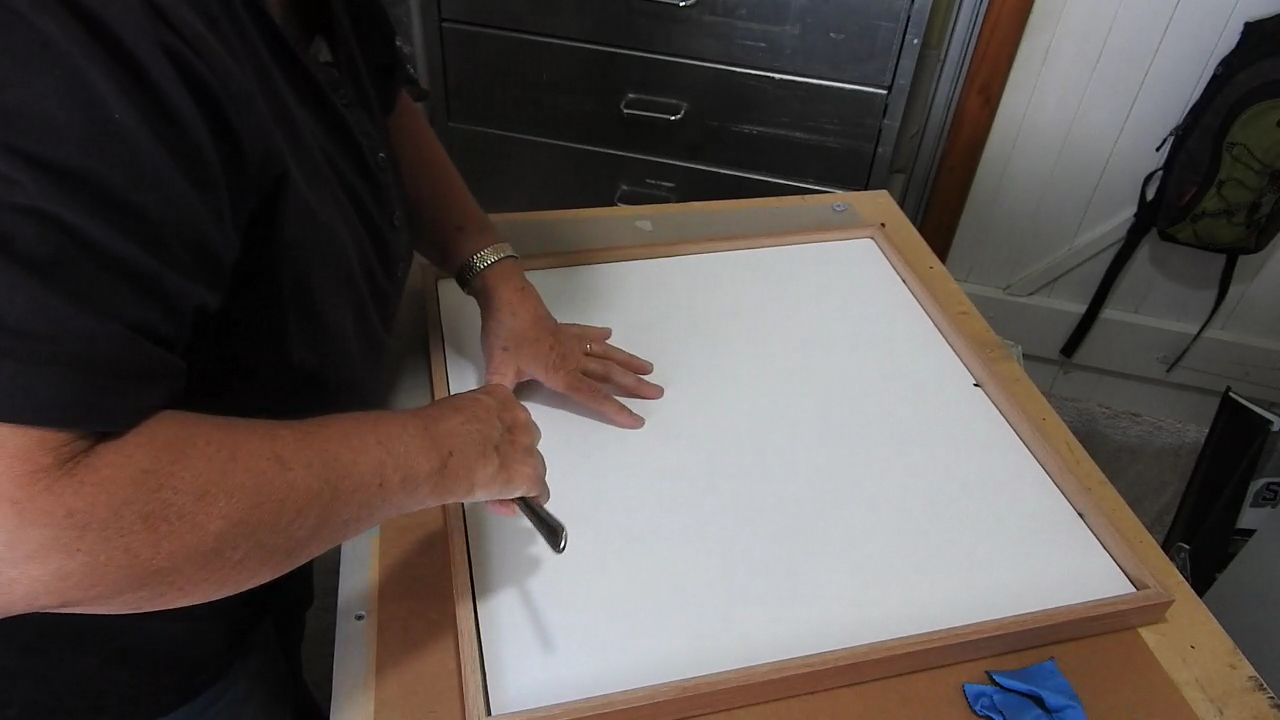
Use the flat of the knife to push a top and bottom edge tack flat onto the backing board.
Turn over and check carefully for any dust or stray specks on the glass or mat board. If you see any remove the painting , clean the glass and/or mat and replace. You can use a kneadable eraser to clean any pastel dust off the mat. Only when you are completely sure you have no unwanted dust should you move onto the next step.

Step 7- Taping the frame to keep moisture out. Turn the painting glass down . Take the framing tape and stretch it along the top edge of the frame just in from the edge.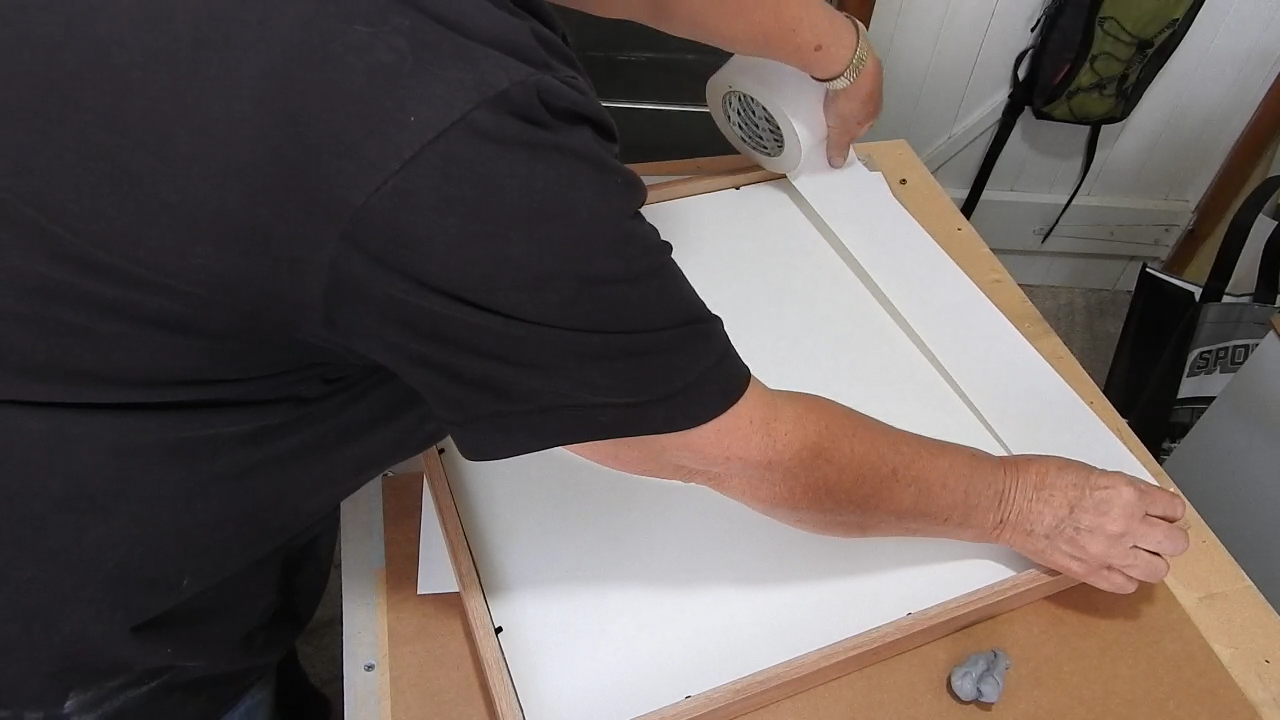
Cut each end using the craft knife and gentle pressure.
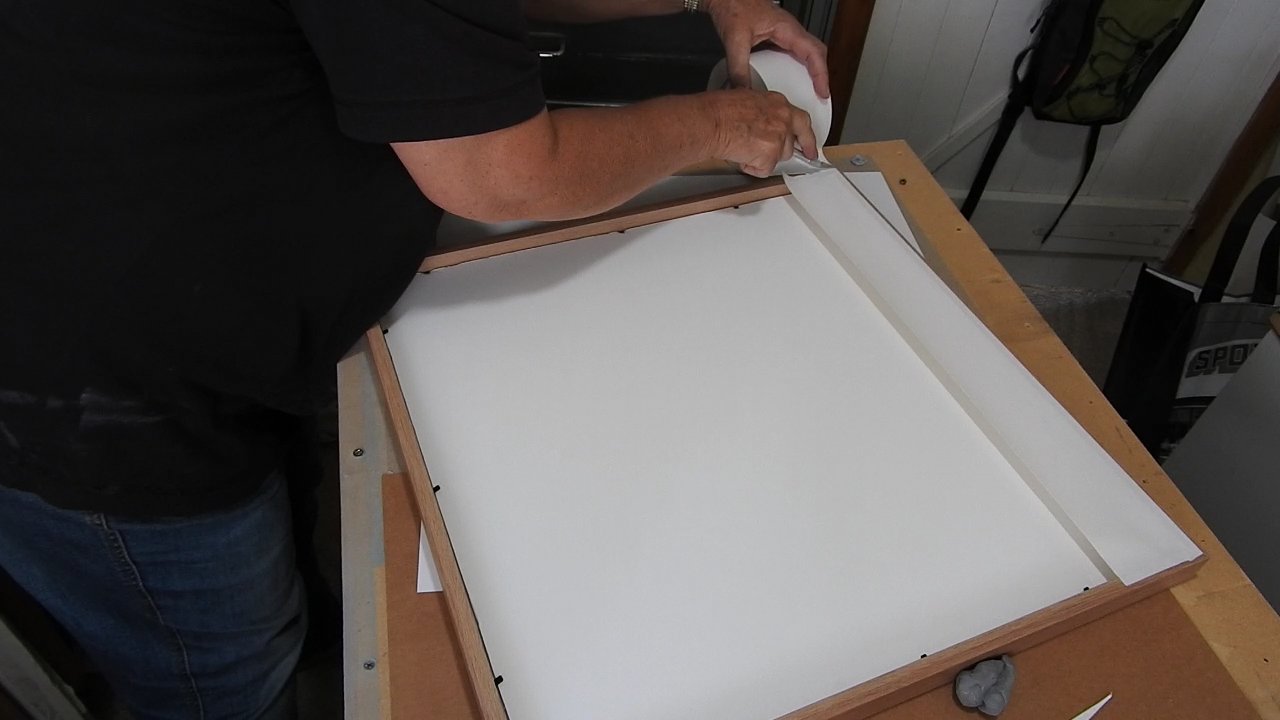
If your frame back is flush with the backing board then start in the middle and carefully press the tape downand gently press as you move your hands out to each edge. Don’t worry if you get a few wrinkles- no-one will see it when it’s hanging on the wall! If the frame is above the level of the backing board as mine is just cut into the corners as below and then starting in the middle press the tape down into angle formed by the frame wall and the backing board. 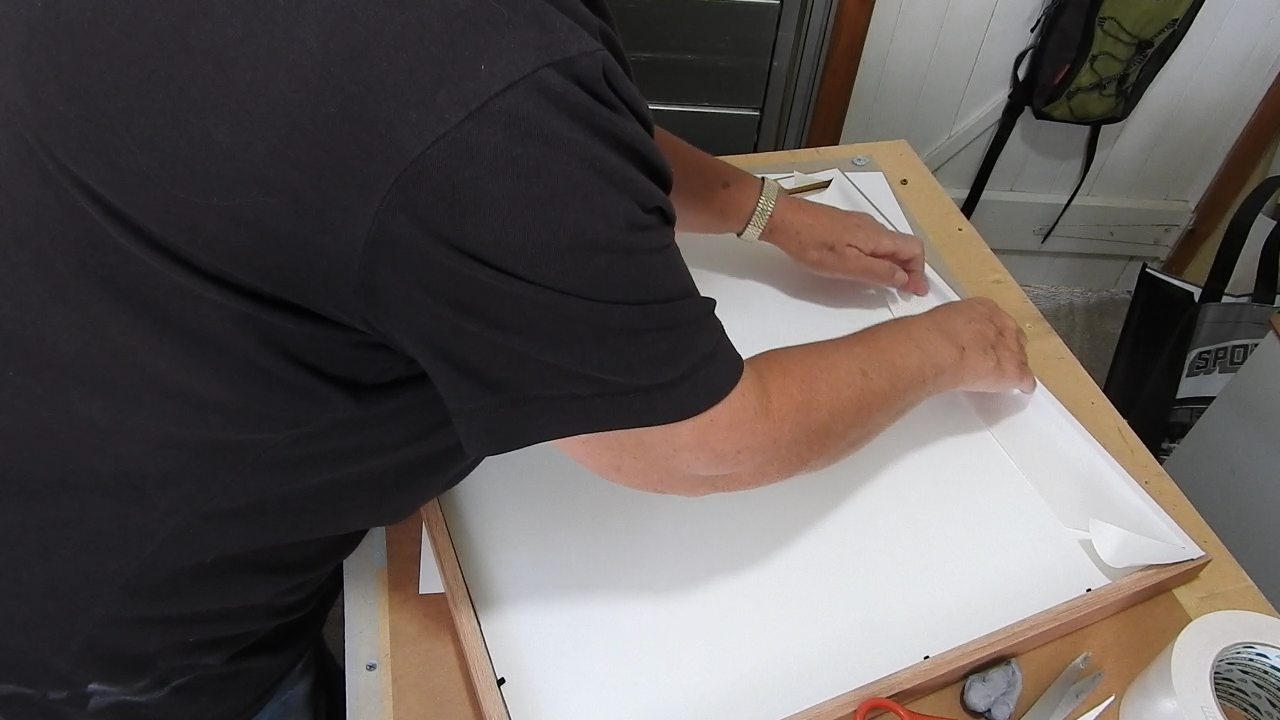
Continue until all sides are covered.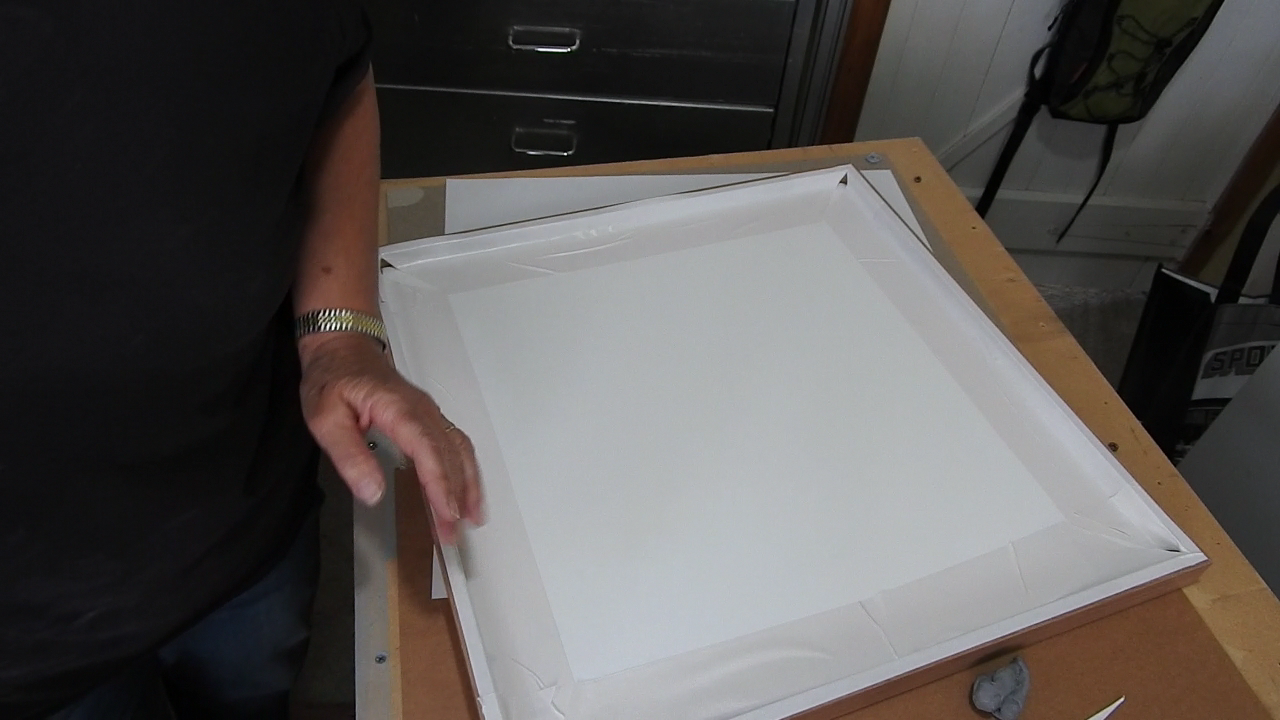
I need to cover the small corner gaps now so I just cut a square of tape and place in each corner.
Step 8. Attach the hanging hardware. You will need 2 small screws, 2 D rings and some hanging wire. Notice that the D ring has a flat side and a curved side.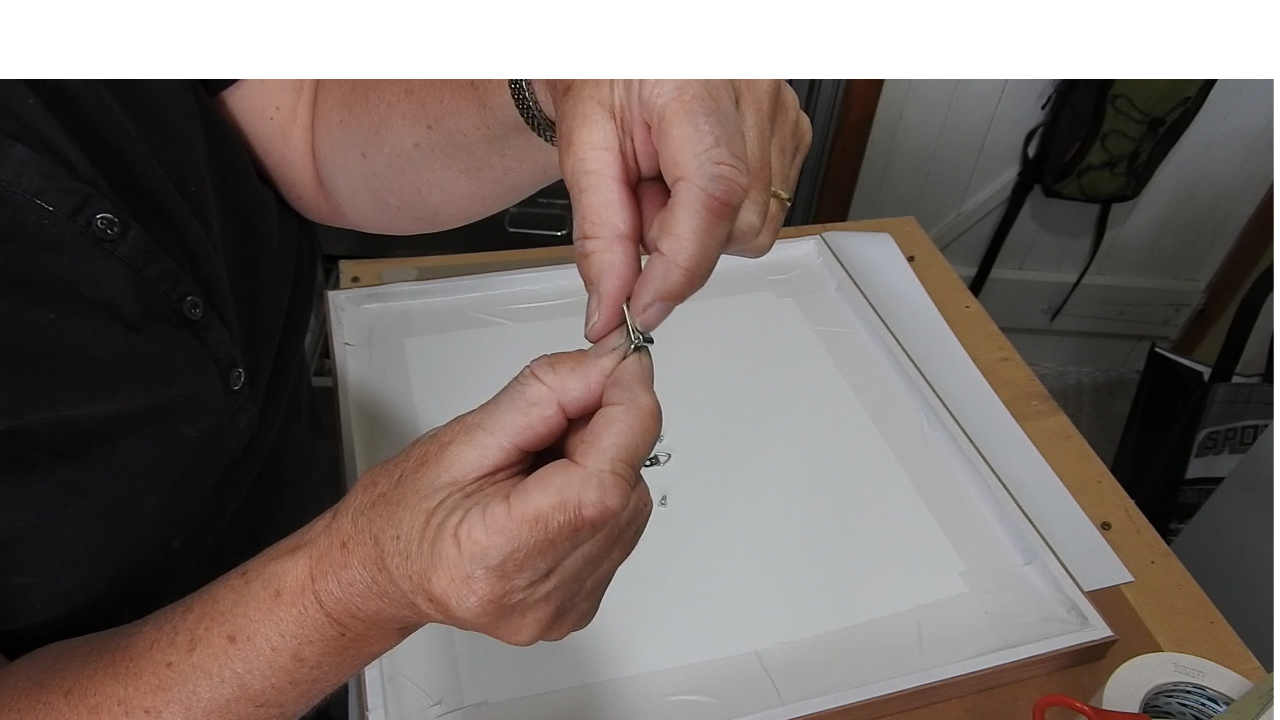
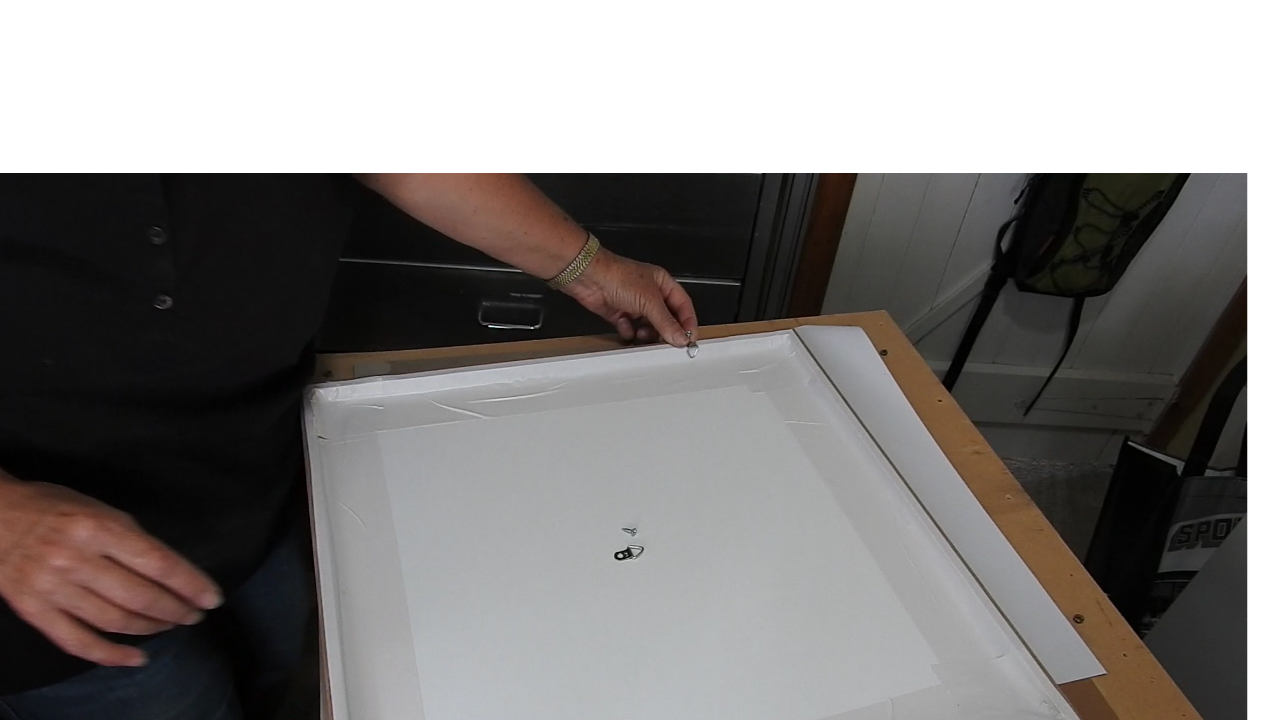
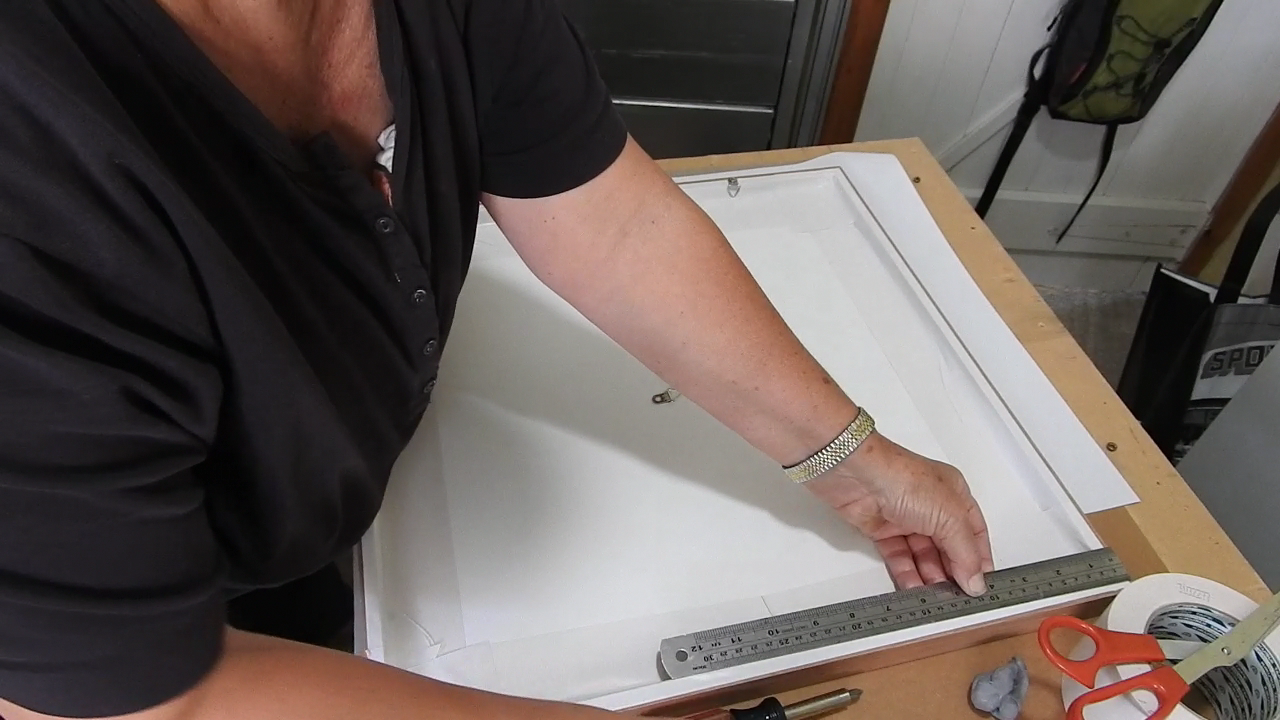
Repeat on the other side using a ruler to make sure they are at the same level.
You shouldn’t need to pre drill holes but if you do make sure to do it before you put the painting in as the vibrations will loosen the pastel dust and cause you grief!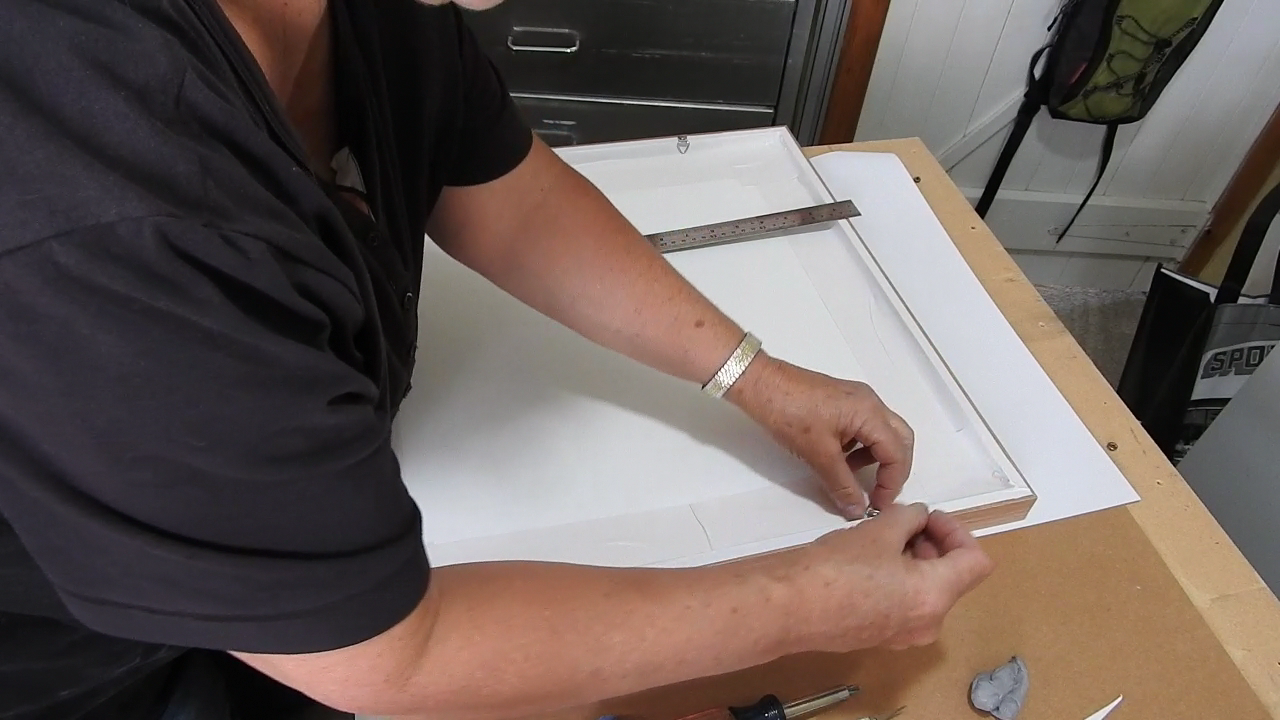
Now stretch the wire across the painting to check the length is right. You should have a bit extra each side.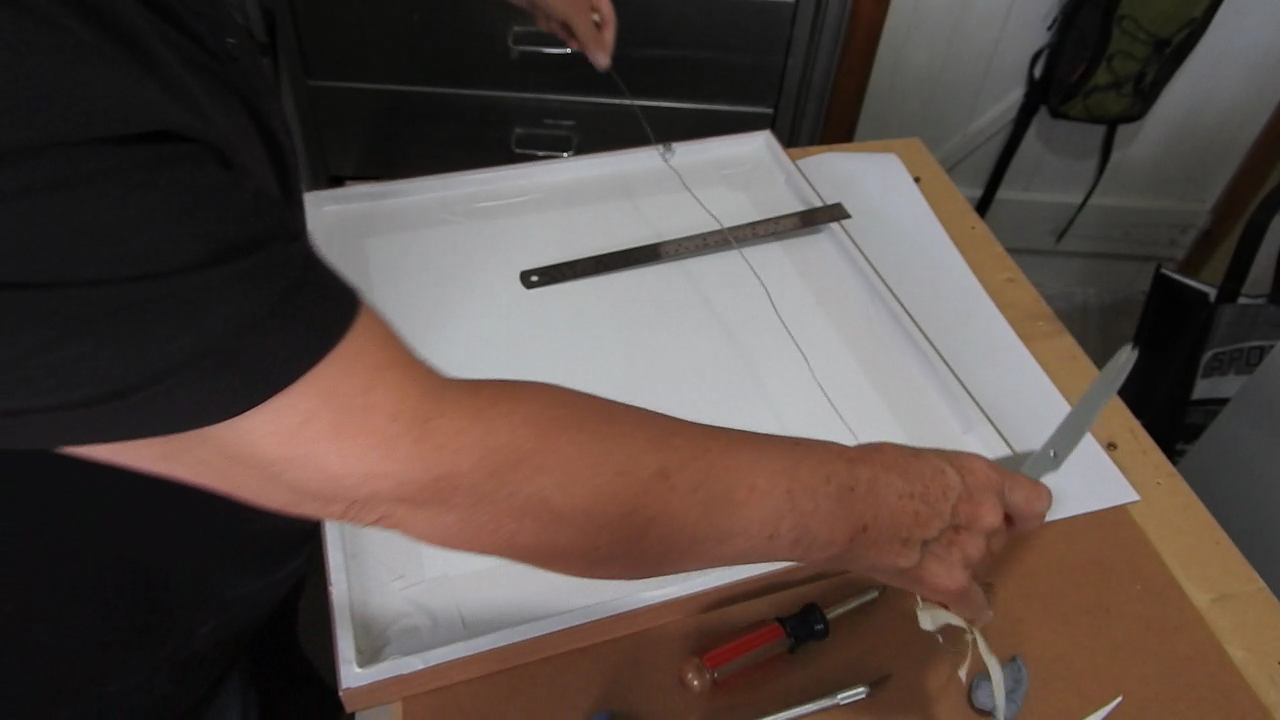
Run it through one D ring and pull it through a second time. Pull tight and tie off .
The excess is now wrapped tightly around the wire.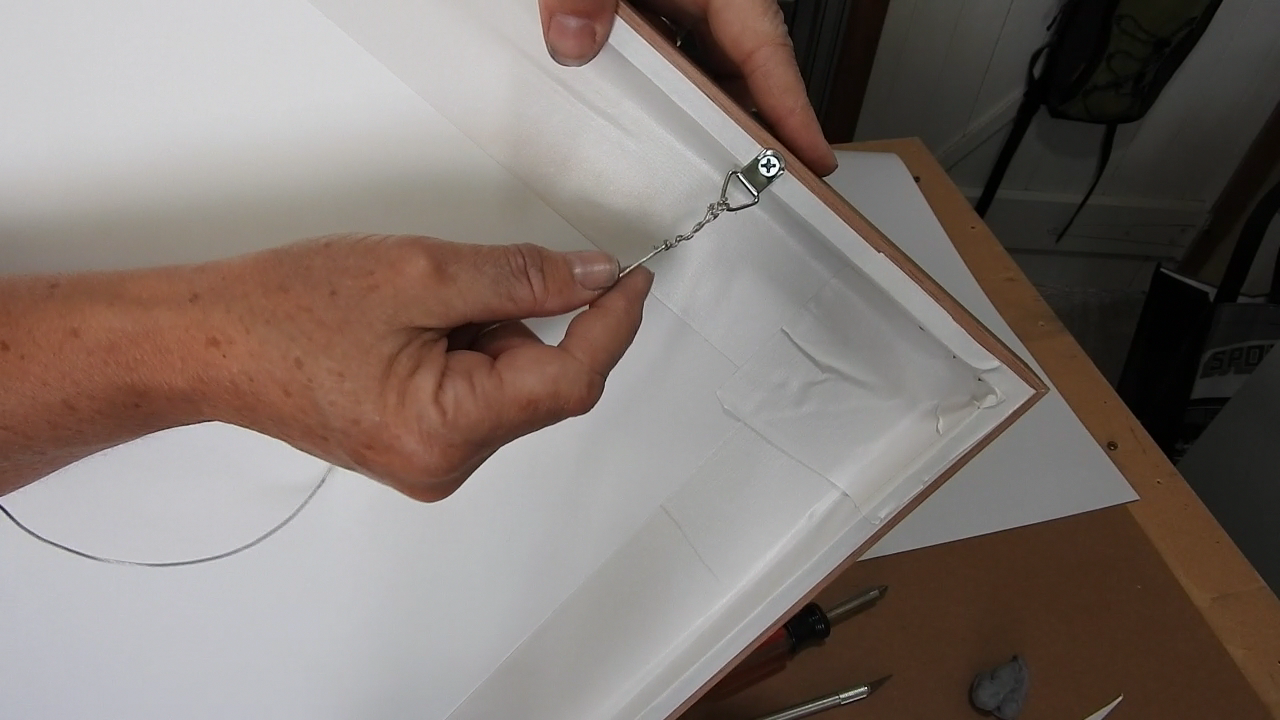
Repeat on the other side making sure to keep the wire tight.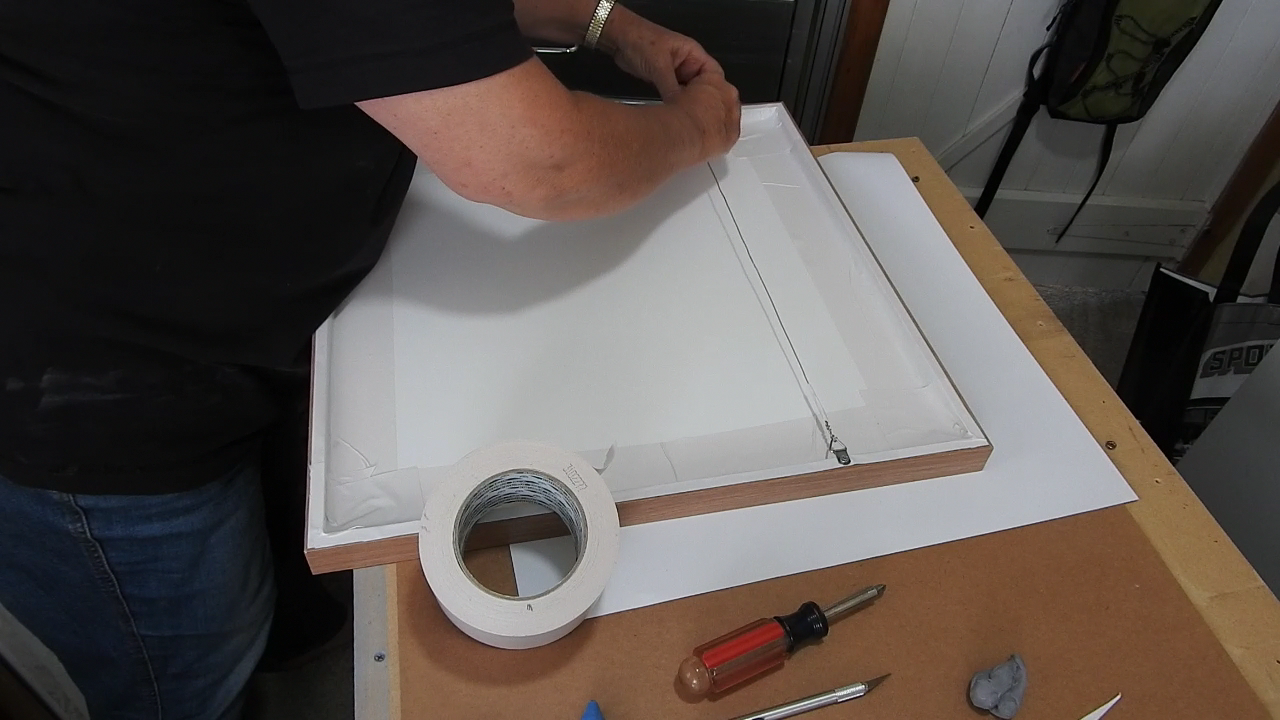
Now just wrap the ends of the wire in a small square of the framing tape to keep all sharp ends covered.
Step 9. Hang on wall and admire!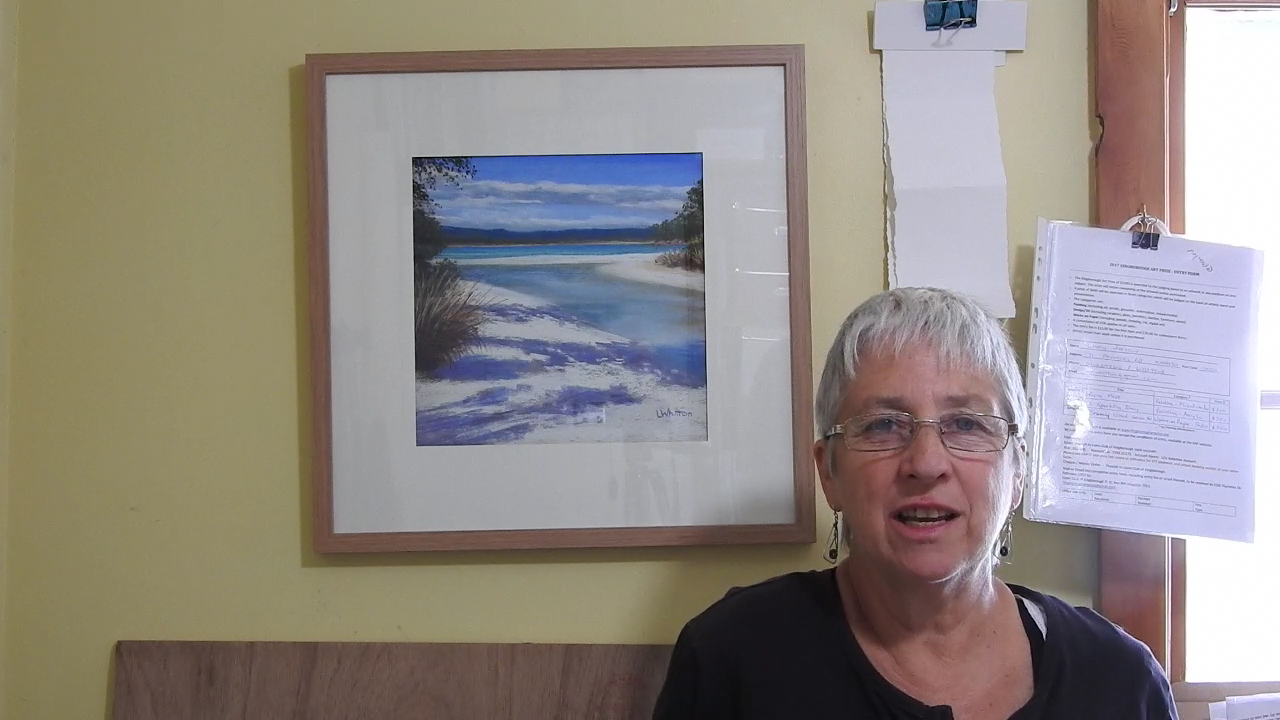

Leave a comment