
Last post I shared with you that I was about to run my first ever Botanical Printing on Leather workshop and was a bit nervous about it all.
I’d just finished my Botanical Printing on Leather ebook and I was happy that I had good, solid information in a practical and easy to understand format but I was still worried that maybe my students wouldn’t get the same great results I’d been getting.
I’m happy to say I wasted my time worrying! Here are some of the first time printers results.
Absolutely gorgeous!

The small samples were our first print and I used these to introduce the students to the different leaves and flowers and how to use a dye blanket to give a coloured background.
I had pre mordanted the leather so we were ready to print straight away.
We used a patchwork of small blankets to create a multi coloured background with overlapping colours making it even more interesting.
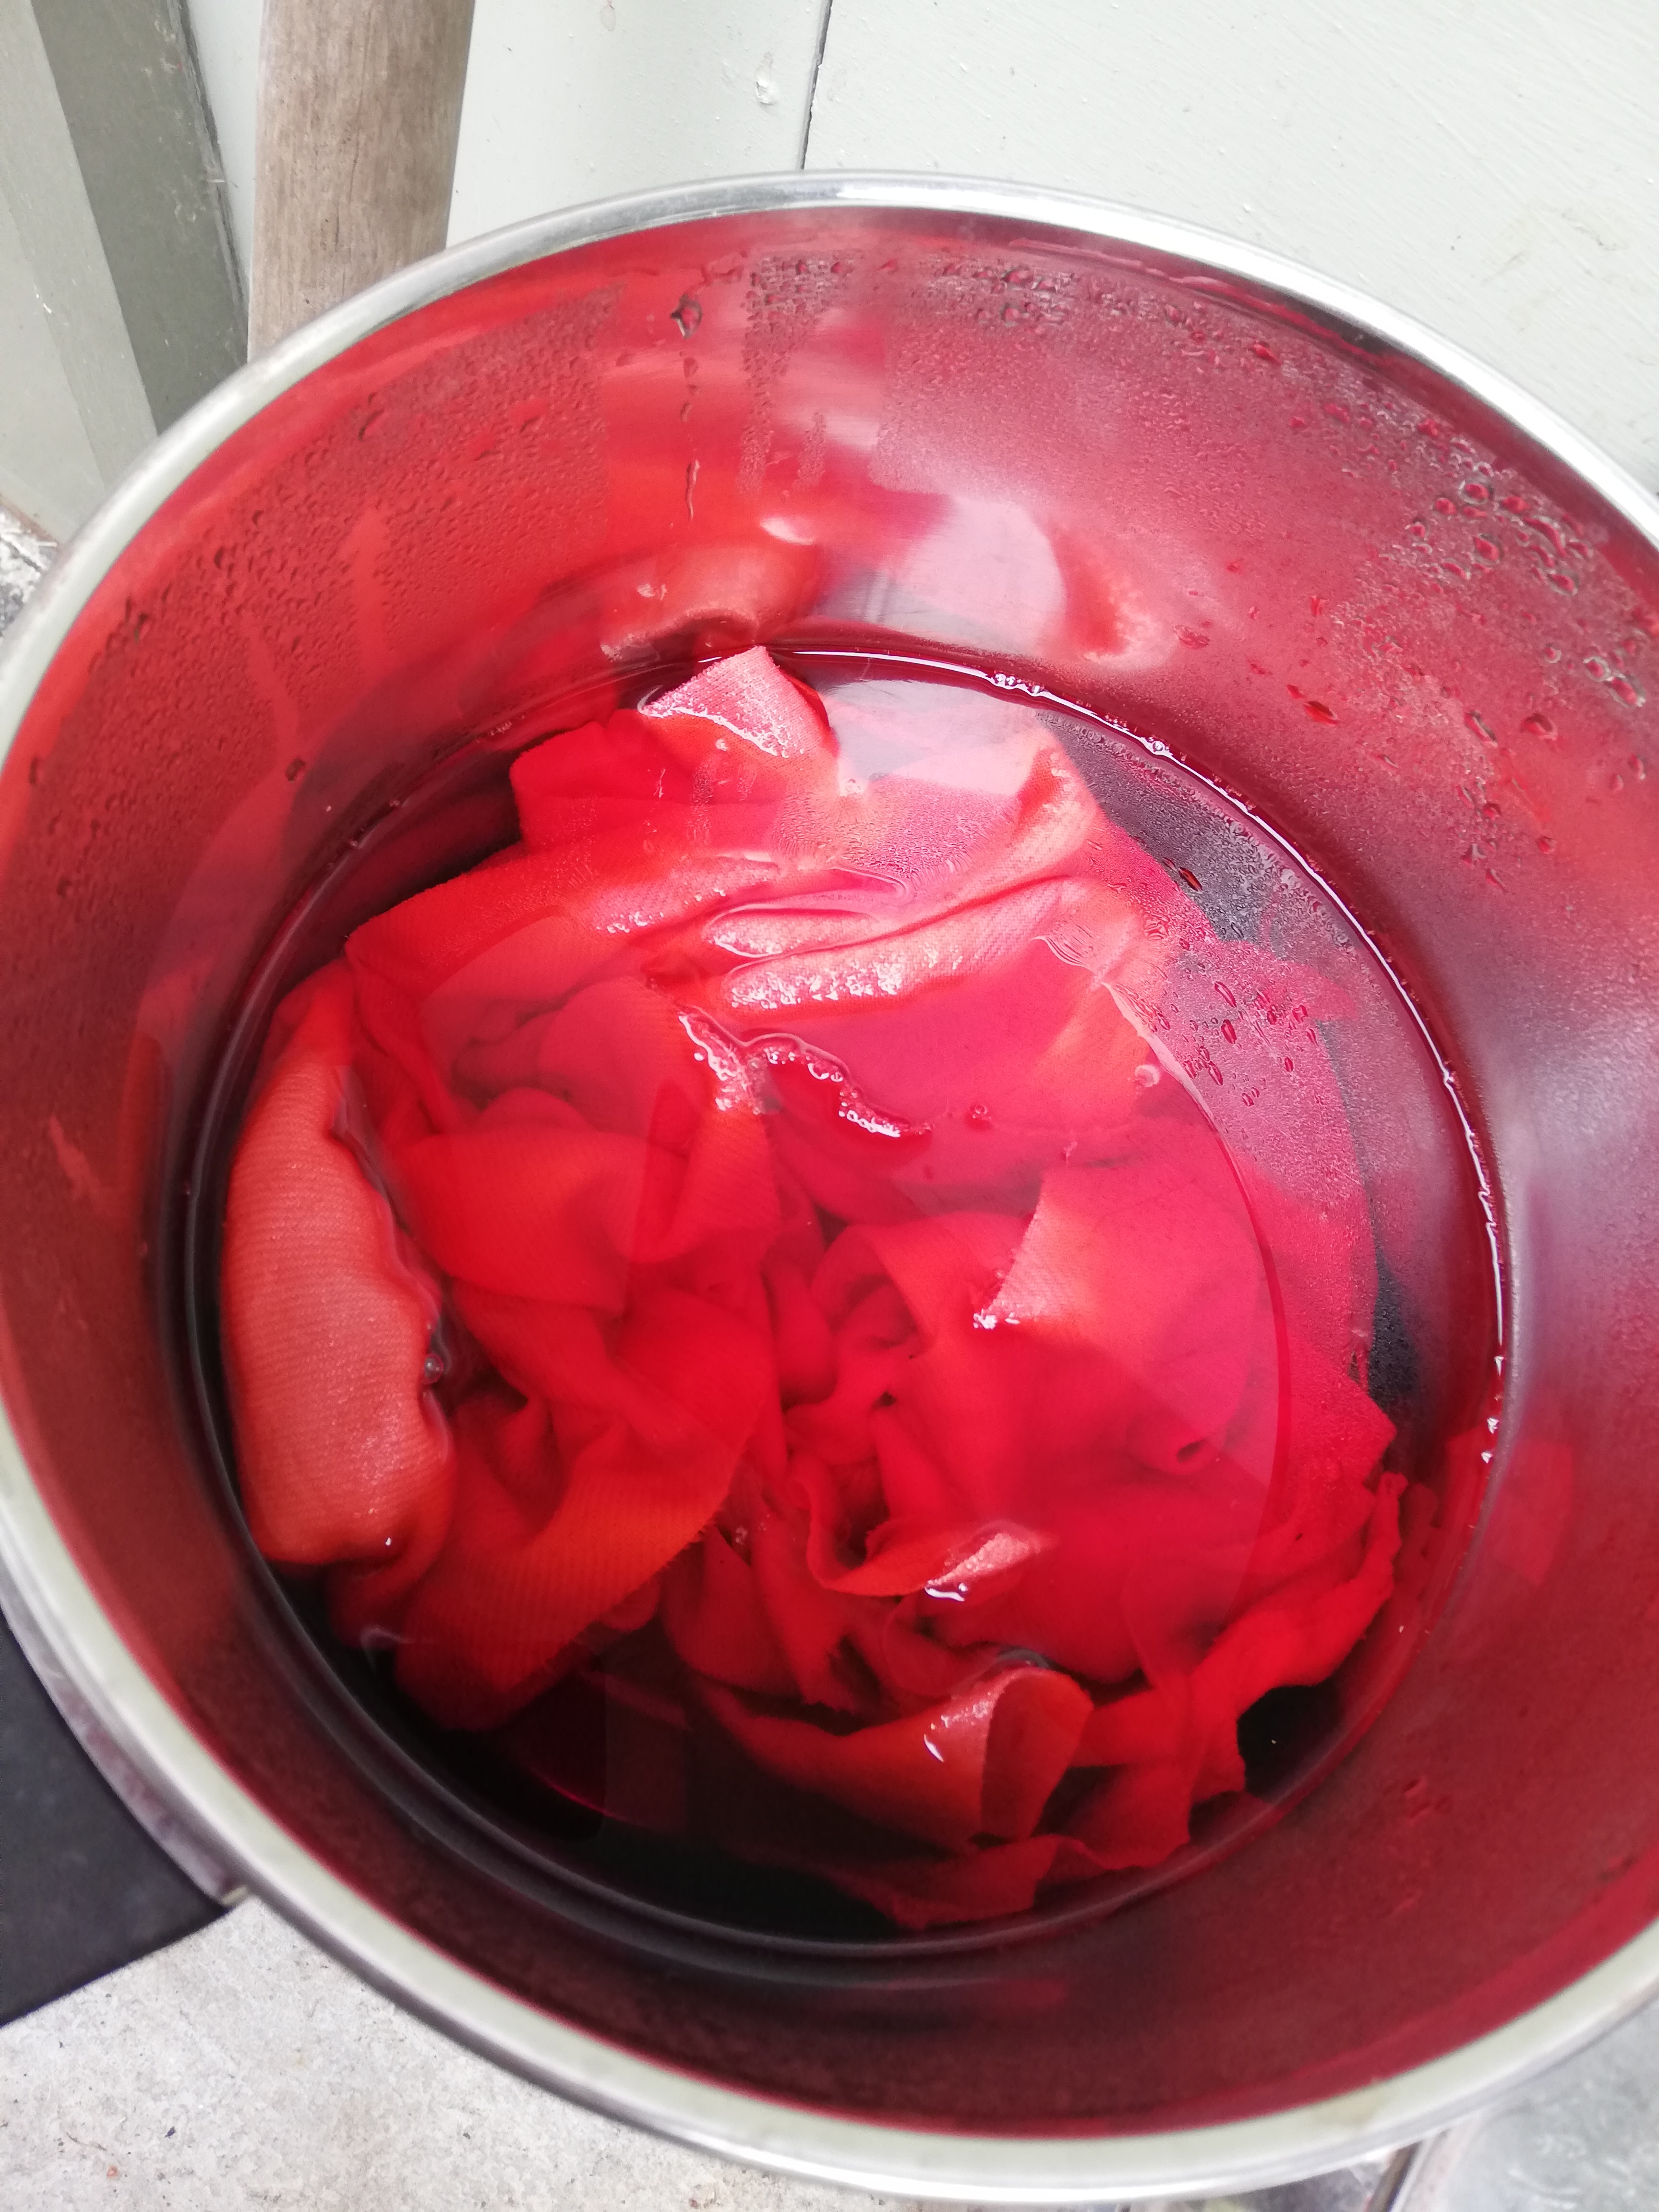
I had three different natural dye baths made up and we tried each dye in our sample pieces so that students could choose the one they preferred for their larger print backgrounds
The dyes I chose were Logwood, Cochineal and Fustic. They are all relatively inexpensive but give lovely colours and combine well. Fustic and cochineal are solid lightfast dyes and with a little added iron logwood has relatively good lightfastness as well.


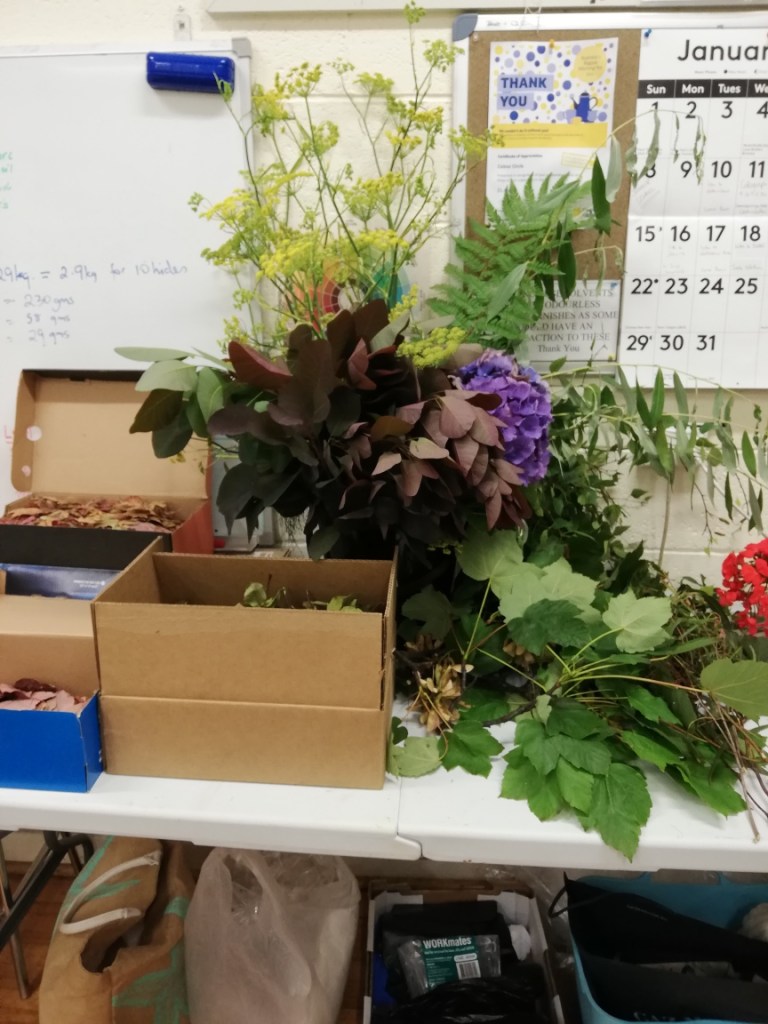
I’d brought along a collection of fresh and dried leaves and flowers and asked the students to do the same.
We shared the bounty and there was a large range to choose from and sample.
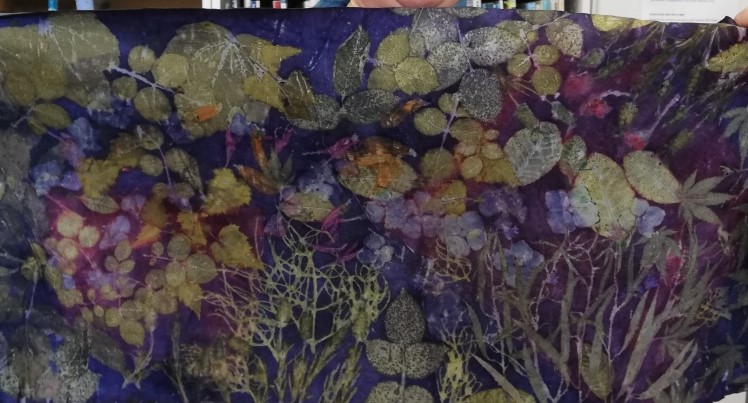
Some of the leaves and flowers created resist prints like the fern in this sample and some gave up their colour to the leather.

Once the samples were done students had a better idea of what the various leaves and flowers would do when combined with different dye backgrounds and they were able to choose a combination that reflected their own individual style.
This one is just like a garden.

We printed single sided to start with on small samples and then I showed them how easy it is to print both sides. It’s a great way to use the different qualities of inner and outer leather and looks fabulous when made up into pouches and unlined bags so you can see both sides.
This shows the outer leather on the right and the inner leather on the left. The dye blanket was logwood.


We used my trusty banquet frypans and 3 tiered steamer for steaming the leather.

It was a fabulous day and everyone went home tired but happy.
I’ve already got 2 more workshops lined up and I’m no longer nervous just very excited to get together with another group of eager printers.

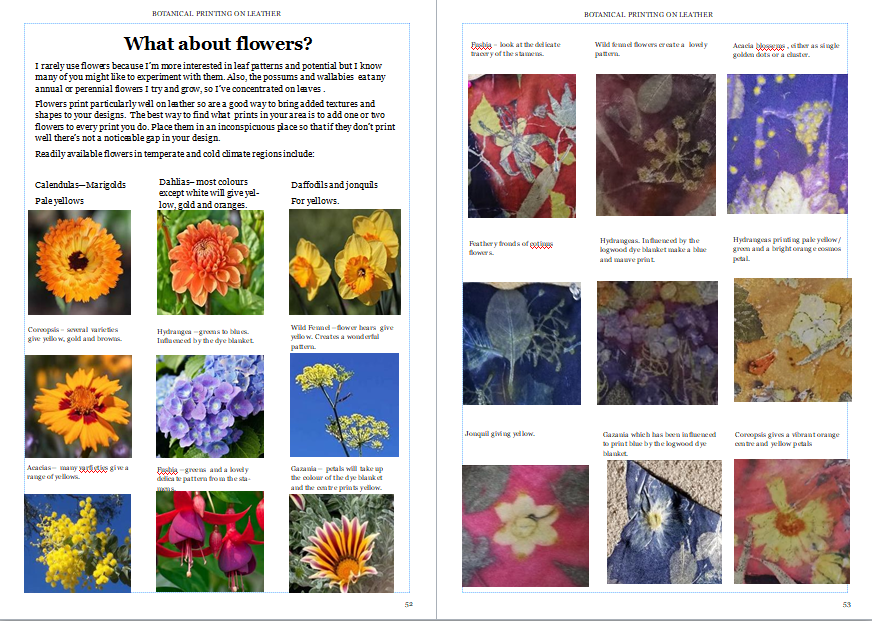
If you want to learn how to print on leather yourself but can’t get to a class I’ve just released this 118 page instant download ebook in PDF format.
I know ecoprinting PDFs can be very expensive so I’ve kept the cost reasonable at $30 Aus and there is a link to a video demonstration included.
It contains everything I teach in my workshops and a lot extra and you can see some sample pages below.
You don’t need to have any experience with eco printing or botanical printing to get the same results as my class did!
You can purchase from my Etsy shop using the secure checkout button. You will get an instant email with a clickable link to download.


I’ve really enjoyed getting the PDF finished and trialling all the information init myself and then taking it to the workshop stage with great results. It’s a fun ride !

Leave a comment