Sometimes I see something and think ” I like this, I could buy it or I could make it myself”. This happened just last weekend when I popped into my local art supply shop to pick up some canvas and spotted a very desirable little concertina sketchbook on a shelf in the corner. I could have bought it right then but it looked such a simple concept I bought a meter of bookbinding cloth and some fabric tape instead and decided to make some myself. The supplies cost more than the sketchbook but for the same cost I could make a few dozen.
Here’s how I did it.
First I got all my supplies together.

- a strip of waste artists paper 10 x 60 cm ( you can use any long thin strip of medium to heavy weight paper)
- a piece of scrap matte board ( any thick card will work)
- a ruler
- a pencil
- a matt cutter ( you could also use a craft knife)
- some scrap fabric
- a roll of cloth tape
- some glue
Step 1 – marking the pages
I divided the strip of paper into 10 equal “pages” by making a small pencil mark at 6 cm intervals along the top and bottom of the strip. (You can make your pages any number and any size depending on the length of your paper strip but there should be an even number of pages.)
Step 2- folding the pages
Now I used the bevelled edge of my metal ruler and lined it up with the first mark on the top and bottom of the paper and folded the paper firmly over the edge to make a sharp crease.

Now I turn the paper over and make a crease along the second fold making sure that the edges of my first and second page line up neatly.

I repeat until all the pages are creased and I have a concertina length of paper. (If you’ve made an error in your marking and end up with a final page that is too small don’t despair! Just cut off the last 2 pages so you still have an even number and continue on.)
Step 3 – cutting the covers
I measure up 2 rectangles of matte board 6.5 x10.5 cm. Using a matte cutter and my metal straight edged ruler I cut out the rectangles. You could also use a craft knife for this step.


Step 4 – cover with fabric
Next I cut out 2 rectangles of scrap fabric 3 cm bigger all round than the covers. I fold the long edges over to the inside of the cover and fix in place with cloth tape. (You can buy cloth tape at a hardware or art supply store). I mitre the corners and fold the short edges in and tape down making sure they sit neatly at the corners. (Mitreing the corners simply means to fold the side edge in to the top of the cover so it forms a 45 degree angle as in the photo below. ) The second photo shows the covers – outside and inside. You don’t have to be too neat with the tape as long as you keep it 3mm from the edge so it won’t show later when you glue the paper over the top.


Step 5 – glueing in the paper
Place the front cover face down and spread glue evenly over the taped area . Leave 4 mm unglued at the edges. Place a length of flat ribbon across the centre of the cover over the glue.

Now carefully line up the first page of the concertina strip so it sits squarely on the cover and gently wipe away any glue that oozes out. Spread the last page with an even coat of glue and line up the back cover neatly over the page. Check that front and back covers line up squarely.

Step 6 – leave to dry
Now just leave it folded up and place a heavy book for a few hours.

Step 7 – admire your handiwork.
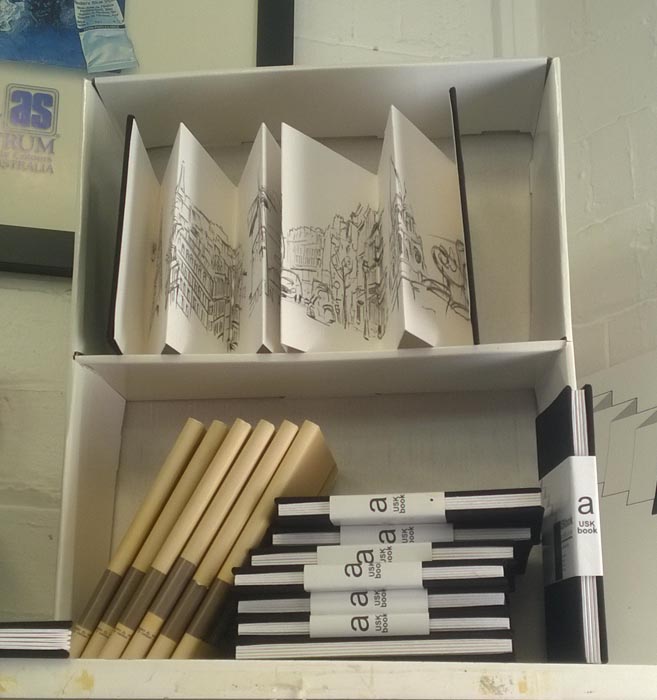
Here’s one I did using black bookbinding cloth. You can use any covering you like , art paper, magazine pictures, collage, leather or fabric. You could also use coloured matte board and just leave it uncovered.

I’ll post another photo when I finish making my dozen… and later I’ll post some pics of what I ended up using them for.
So go ahead and sort through your card, paper and fabric scraps and make yourself a beautiful, personalised concertina book- you don’t need to draw or paint – you could use it for poetry, a fun letter to a friend, a Valentines gift filled with expressions of love. The list goes on.
Post a photo – I’d love to see what you and your imagination can come up with!

Leave a comment